Every house leaks. The average older home exchanges its entire air volume several times an hour through gaps you cannot see, and that air is paid for twice: once when it is heated and again when it is cooled.
Air sealing is the least glamorous upgrade in the trades. It is also one of the few that can cut a heating bill by 10 to 20 percent for a few hundred dollars in materials. The catch is order and safety, which is what this checklist covers.
Start with a blower door test
A blower door test pressurises the house and measures how much air escapes, reported as air changes per hour at 50 pascals, or ACH50. A leaky older home often tests at 8 to 15; a tight new home tests near 3. The test costs $300 to $500 and gives you a before-and-after number, which is the only honest way to know whether the work helped.
While the fan runs, walk the house with a smoke pencil or the back of your hand. The leaks announce themselves. Write each location on a floor plan, because the worst ones are rarely where homeowners expect. Attic hatches, rim joists and recessed lights usually top the list.
Attic and ceiling plane
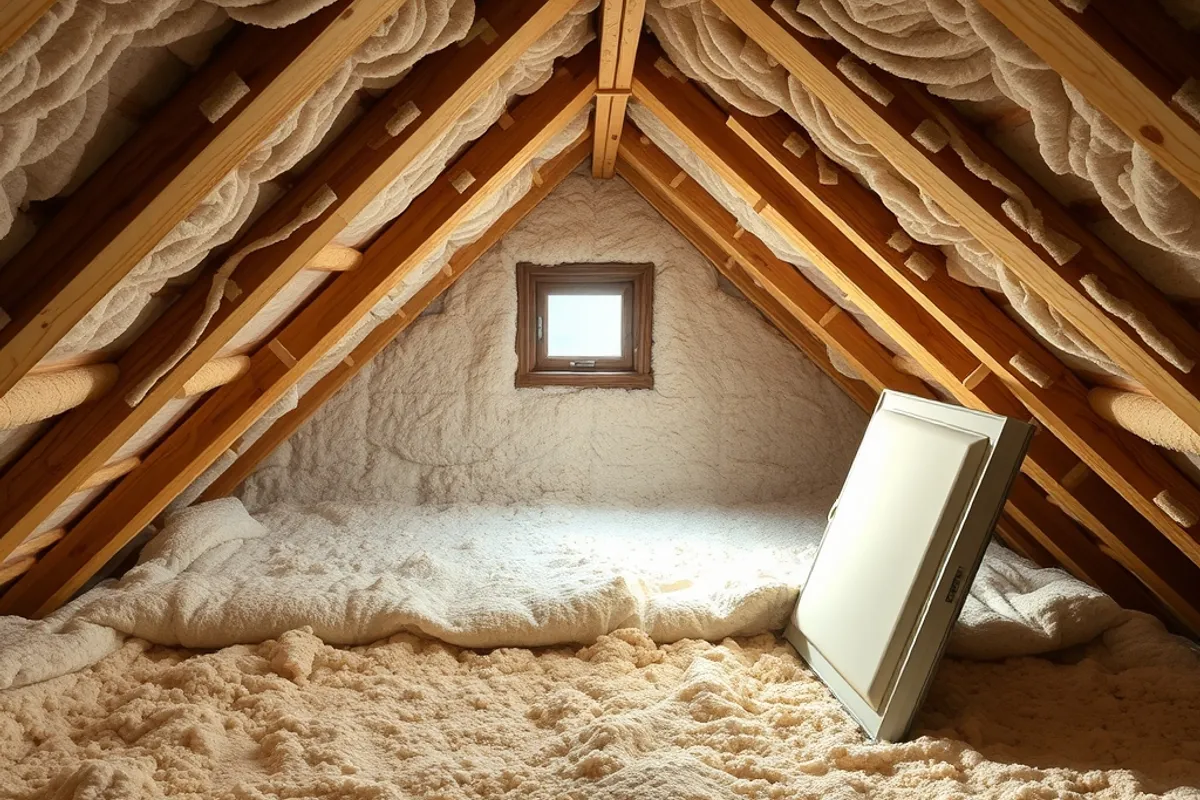
The attic floor is the most valuable place to seal because the stack effect pushes warm air up all winter. Seal around top plates, wire penetrations, plumbing vents and the chimney. Use fire-rated sealant around metal flues and keep a code-required clearance to combustible material. Never seal directly against a chimney with foam.
Box recessed lights with rated covers or replace them with sealed LED units. Build a rigid air barrier around the attic hatch and weatherstrip the lid. Keep baffles open at the eaves so the roof still vents, and do not bury soffit vents under insulation.
Basement and crawlspace
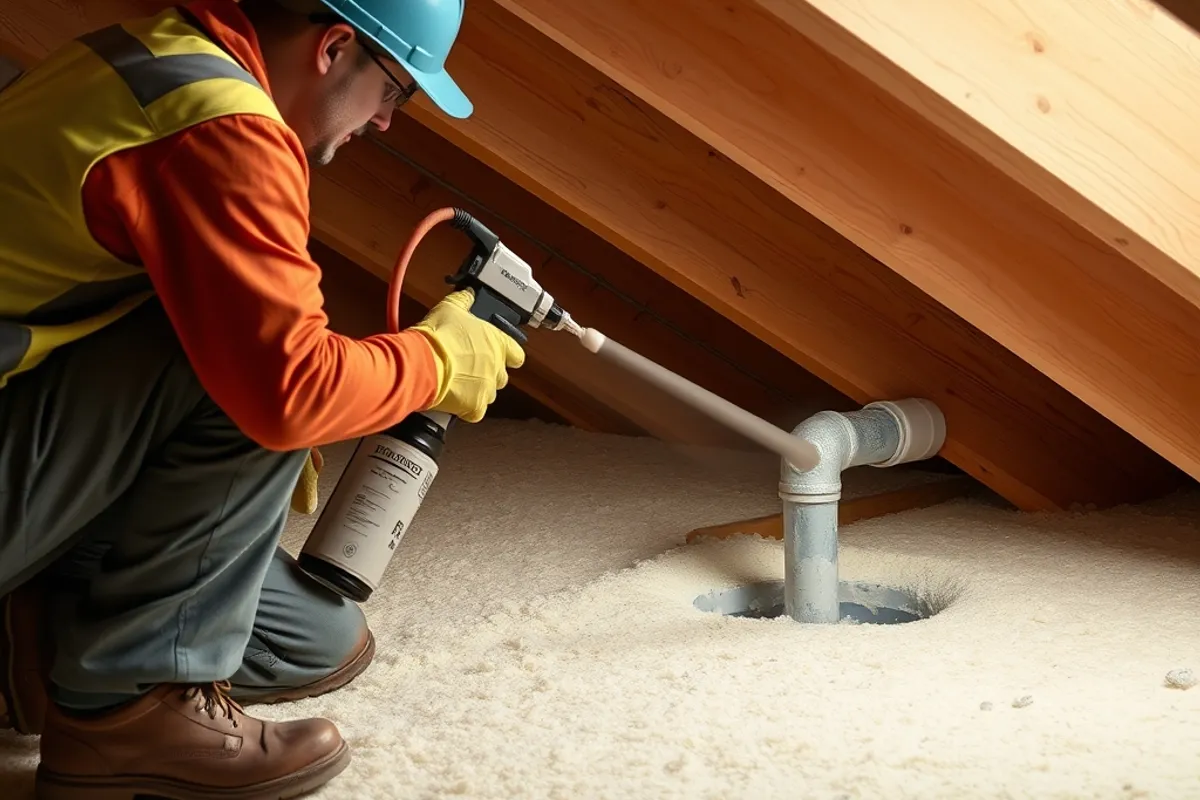
The rim joist is the second big leak. Seal the gap between the foundation and the sill with closed-cell foam or rigid board plus sealant. In a vented crawlspace, cover the dirt floor with a sealed vapour barrier and insulate the ducts. Do not seal a crawlspace without checking how moisture will be managed, because trapped damp air causes rot.
In a basement, seal around the dryer vent, water lines and electrical conduit. Use a non-shrinking sealant where the foundation meets the frame. If the basement is conditioned, treat the rim as part of the thermal envelope, not as an afterthought.
Seal the big holes before you buy another roll of weatherstripping. A window kit cannot fix a missing attic hatch gasket.
Living space, room by room
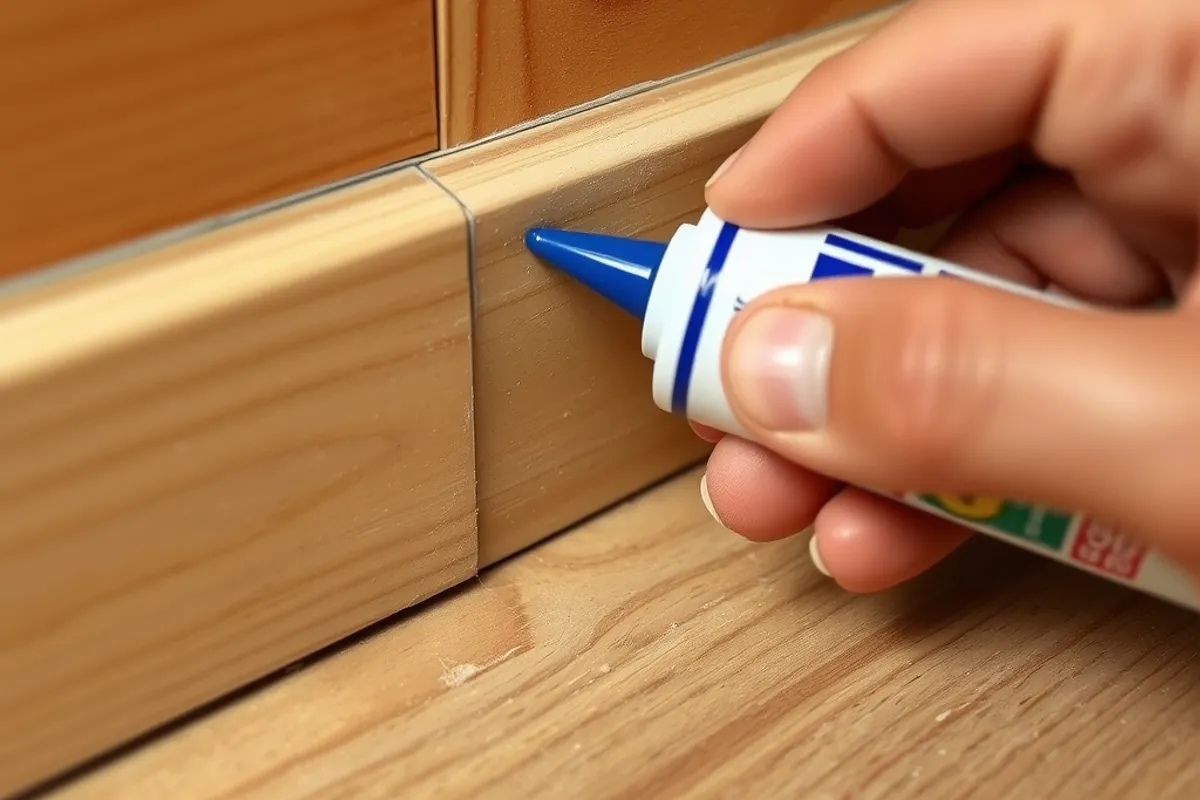
In each room, check the following: outlet and switch plates on exterior walls, window and door frames, baseboards on exterior walls, ceiling fixtures, bath fan housings, and the gap behind kitchen cabinets on an exterior wall. Foam gaskets behind outlet plates cost cents and stop a surprising amount of draught.
Weatherstrip exterior doors and adjust the strike plate so the door compresses the seal. Install door sweeps and seal the gap under the threshold. For windows, repair the existing weatherstripping before replacing the unit; a $20 repair often performs better than a rushed replacement.
Combustion safety comes first
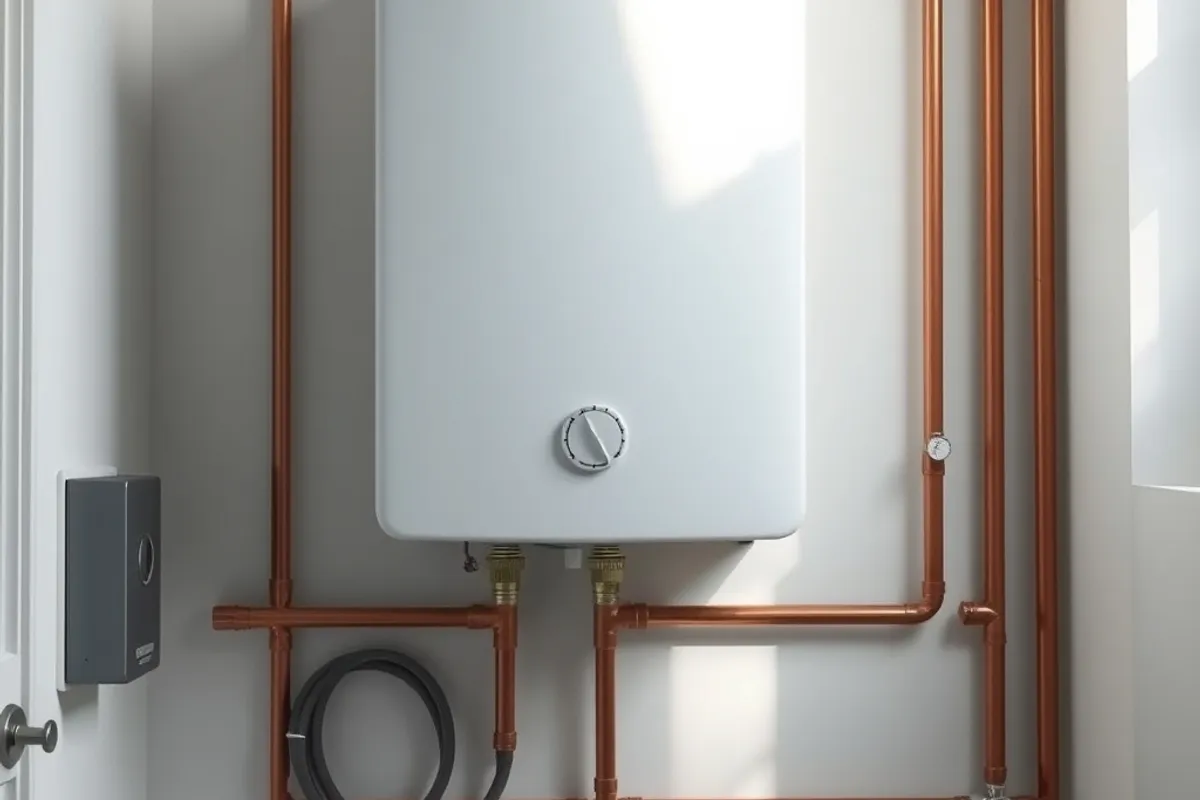
This is the part that separates a professional job from a weekend mistake. A gas furnace, water heater or wood stove needs combustion air. In a tight house, a powerful exhaust fan can depressurise the space and pull flue gases back into the room. Before and after sealing, test the flue with a smoke pencil while the fans run.
Install carbon monoxide alarms on each floor and outside sleeping areas. If the house has a natural-draft water heater in a sealed closet, add a louvered door or a dedicated combustion-air duct. When in doubt, hire a certified energy auditor. The cost of that visit is small against the risk of backdrafting.
Key facts
- Blower door test: $300 to $500.
- Leaky older home: 8 to 15 ACH50.
- Tight new home: about 3 ACH50.
- Typical heating saving: 10 to 20 percent.
- Combustion-air testing is mandatory, not optional.
What to seal, and what to leave alone
Seal gaps, not the building. Insulation needs to stay dry and the roof needs to breathe, so never block soffit vents, ridge vents or the drainage plane behind siding. Leave the cavity behind brick veneer alone. Do not spray foam into a closed wall cavity without understanding the moisture path.
Also, do not seal the return-air path in a forced-air system. Some older houses use the wall cavities as return ducts, and closing them starves the furnace. A contractor who knows the system will check before touching those joists.
Measure the result
Run the blower door again after the work. A drop from 12 ACH50 to 7 is a real improvement and should show on the next heating bill. Keep the report with the house documents; a future buyer or rebate reviewer will ask for it. Then move to insulation, which only performs when the air below it is still.
For the equipment side, read our tankless water heater payback guide. For more envelope and efficiency work, browse the Home Improvement desk. Public guidance on air sealing and moisture is also published by the U.S. Department of Energy.